|
|
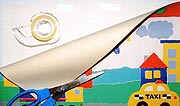
| The Roadster |
Step 1: Cover the Base
Covering the base is the first step in actually decorating the
habitat: adhesive-backed paper and wallpaper borders were used to cover the sides of the bases of the above cages. Either
acrylic or utility standards were then attached to the sides or side tops to deter chewing. (Report-cover spines or plastic
"U"-channels may also be used to cover the top edges of Coroplast.) The acrylic may be held in place with either
binder clips or wire placed through holes that have been drilled in the acrylic.
|
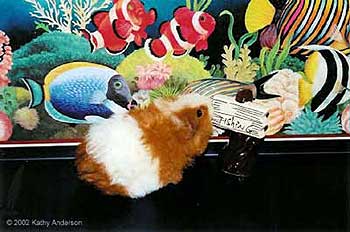
| Under the Sea |
Step 2: Add a Background
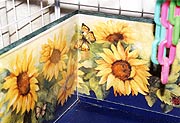
If one prefers, just a background may be added to the habitat.
The background may be made of wallpaper, fabric, aquarium/terrarium background paper, or wrapping paper. Stickers, paint,
crayons, or photographs may also be used to create a background. Once the background is completed, it will need to
be protected with either a clear piece of adhesive-backed paper or acrylic.
|
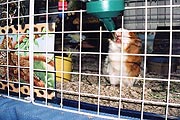
| African Safari |
Step 3: Optional Clear Front Window
If a clear front "window" is preferred for the cage base, the acrylic
and the base material each needs to be cut to the desired size. The acrylic front for the Sunflower Garden cage was screwed
to the wood frame whereas the front for the Under the Sea cage was attached to the Coroplast base with wire. The acrylic window
for both the Garden Retreat and African Safari cage was held in place with binder clips.
|
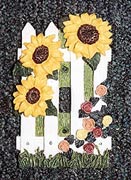
| Sunflower Garden |
|
| Garden Retreat |
Step
4: Adding Decorative Items
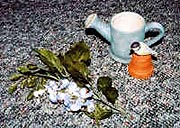
If one is using switchplate covers for the front edges, they
are attached with wire or a cable tie to the wire grid (and through the base if desired). Any other items that are to be placed
on the exterior of the cage may be added at this time. The next step is to put a piece of small acrylic between any
of the attached items and the wire grid of the cage and the guinea pigs.
|
| Garden Retreat |
Step 5: Safety-Proof
Objects that are to go inside the cage
must be safe for the guinea pigs. Check to make sure that anything placed in the cage is stable and that it won't fall
over and hurt a guinea pig. Also, check to see that there are no sharp edges or points that might cause an injury. If there
are problems with any items that are in the cage, they need to be covered or enclosed in acrylic (or other safe protective
material) or not used at all.
|
| Lupine Gardens |
Step 6: Add Guinea Pigs!
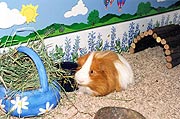
After everything has been added to the cage to your satisfaction,
get your guinea pigs and place them into your new creation. Make sure that everything is safe for them and
that there is enough room for them to move around the cage with ease. Observe the cage and the occupants over the next few
days. You may find that you need to change a few things after the habitat has been in use for a while.
What's the next step? Sit back and enjoy
the fruits of your labor...a theme cage and fun environment for your pet guinea pigs. Enjoy!
|

